The scope of this article is to build a first simple API fetching example using the new NextJs 13.
We will start by creating a NextJs 13 project from scartch. Also, if you need it, please take a look at how the static pages routing work in Nextjs 13.
Our app will have just one single root page. So, in the /app folder will add a single page.js file with the following content:
// app/page.js
export default async () => {
    return (<>
        <h1>My blog</h1>
    </>)
}
Let's go ahead and start our project:
npm run devAt this moment our application folder should look like this:
/.next
/app
    head.js
    layout.js
    page.js
/node_modules
next.config.js
package.json
Keep in mind that the folder .nextjs, plus the head and layout files were automatically generated by Nextjs when starting up the project.
NextJs has greatly simplified the way we query for API data. Instead of using the methods like getStaticProps or getServerSideProps, in NextJs 13 the majority of the data is fetched in server components.
In order to get the data we can use the build in native fetch function or other libraries like Axios.
We will add an async function to get the data and wait for it in the page component:
// app/page.js

const api = 'https://jsonplaceholder.typicode.com/posts'

const loadDataFromServer = async ()=> {
    const response = await fetch(api)
    return response.json()
}

export default async () => {
    const articles = await loadDataFromServer()
    return (<>
        <h1>My blog</h1>
    </>)
}
You can name the loadDataFromServer function whatever you like. No special name here.
Finally, we will create a new component that will render this data. Given that in NextJs 13 we can colocate components in the same folder as the actual pages, we will add the article.js file directly in the app folder.
// app/article.js

export default ({title, body}) => {
    return (<>
        <h3>{title}</h3>
        <p>{body}</p>
    </>)
}
And with this in place we can import and use the article component to show the received data from the API:
// app/page.js
import Article from "./article"

const api = 'https://jsonplaceholder.typicode.com/posts'

const loadDataFromServer = async ()=> {
    const response = await fetch(api)
    return response.json()
}

export default async () => {
    const articles = await loadDataFromServer()
    return (<>
        <h1>My blog</h1>
        {articles.map( p => <Article key={p.id} {...p}/>)}
    </>)
}
At this point our app should look like this:
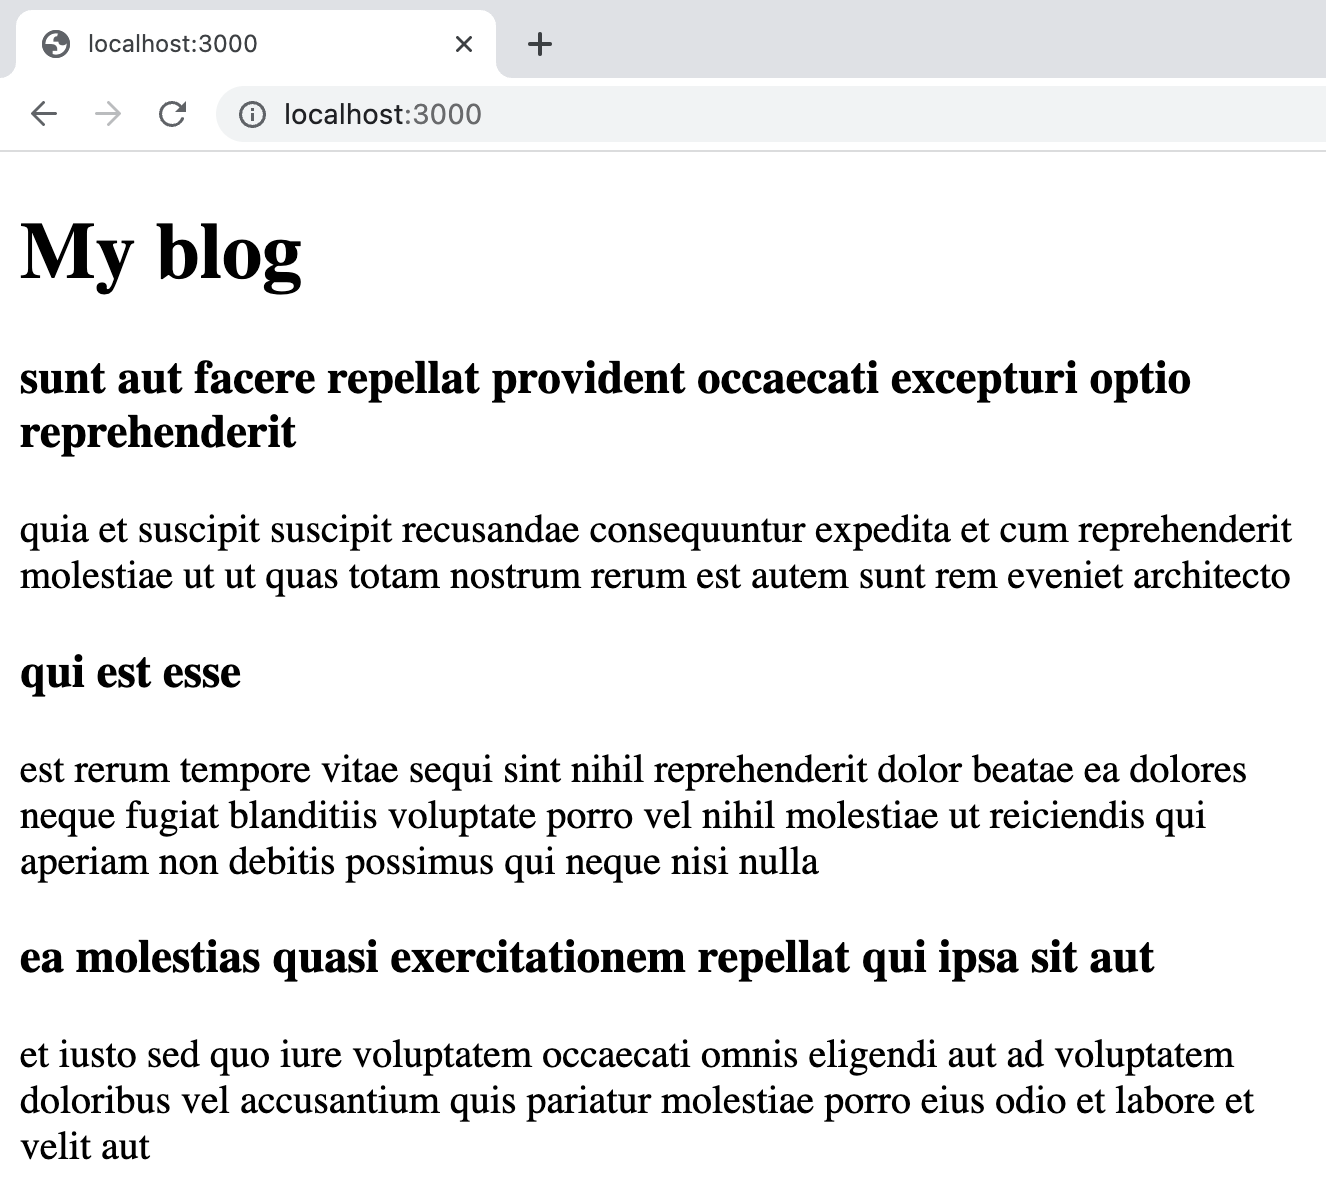
You can checkout the full code of this example here.
In the next posts, we will see how to add loading screens, use React Suspense in NextJs, have error states for data fetching, how caching is used as how the generateStaticParams() function can be used to fetch and generate predefined paths.
📖 50 Javascript, React and NextJs Projects
Learn by doing with this FREE ebook! Not sure what to build? Dive in with 50 projects with project briefs and wireframes! Choose from 8 project categories and get started right away.
📖 50 Javascript, React and NextJs Projects
Learn by doing with this FREE ebook! Not sure what to build? Dive in with 50 projects with project briefs and wireframes! Choose from 8 project categories and get started right away.