Alongside all of the other goodies and new features of NextJs 13 we also got a ready-to-use custom font system.
One disadvantage of using custom fonts (like Google Fonts or TypeKit) is the fact that our browser needs to do an extra HTTP request to get them. This means that while the custom font is not loaded we will get the fallback front, and when the fonts are replaced we will see a CLS - Cumulative Layout Shift.
The new NextJs font library is aiming to fix exactly this issue by putting the custom font on the local server, plus using CSS size adjust to reduce the layout shift.
Let's see how we can use the NextJs font library.
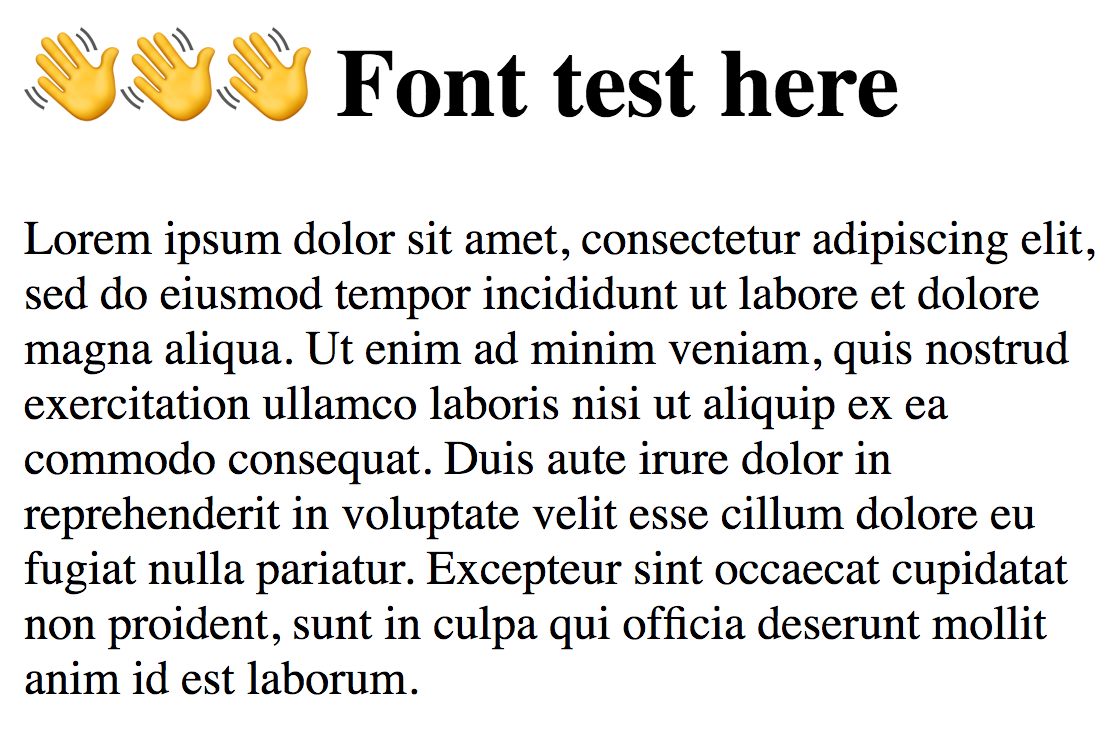
We will start from a simple page that only display the below static text:
Installing the NextJs @next/font font library
Given that it contains quite a big number of custom fonts the @next/font needs to be installed separately.
We will need to run this in our main folder:
npm i @next/fontBe sure to restart the server, or you may get the below error:
Error: @next/font/google failed to run or is incorrectly configured.
If you just installed `@next/font`, please try restarting `next dev` and resaving your file.
Using the NextJs @next/font for Google Fonts
After the installation is done we can use the font library. The best place to import the custom fonts is in the main app layout.
For example, we will import the Roboto font and specify that we want to set its weight to 900:
// app/layout.js
import {Roboto} from '@next/font/google'

const roboto = Roboto({
  weight : ['900']
})
The roboto object will provide a unique class name that we can use to define the element that will have this font. In our case, we used it use on the body of the document:
// app/layout.js
// create roboto font; see below
export default function RootLayout({ children }) {
return (
<html>
<head />
<body className={roboto.className}>{children}</body>
</html>
)
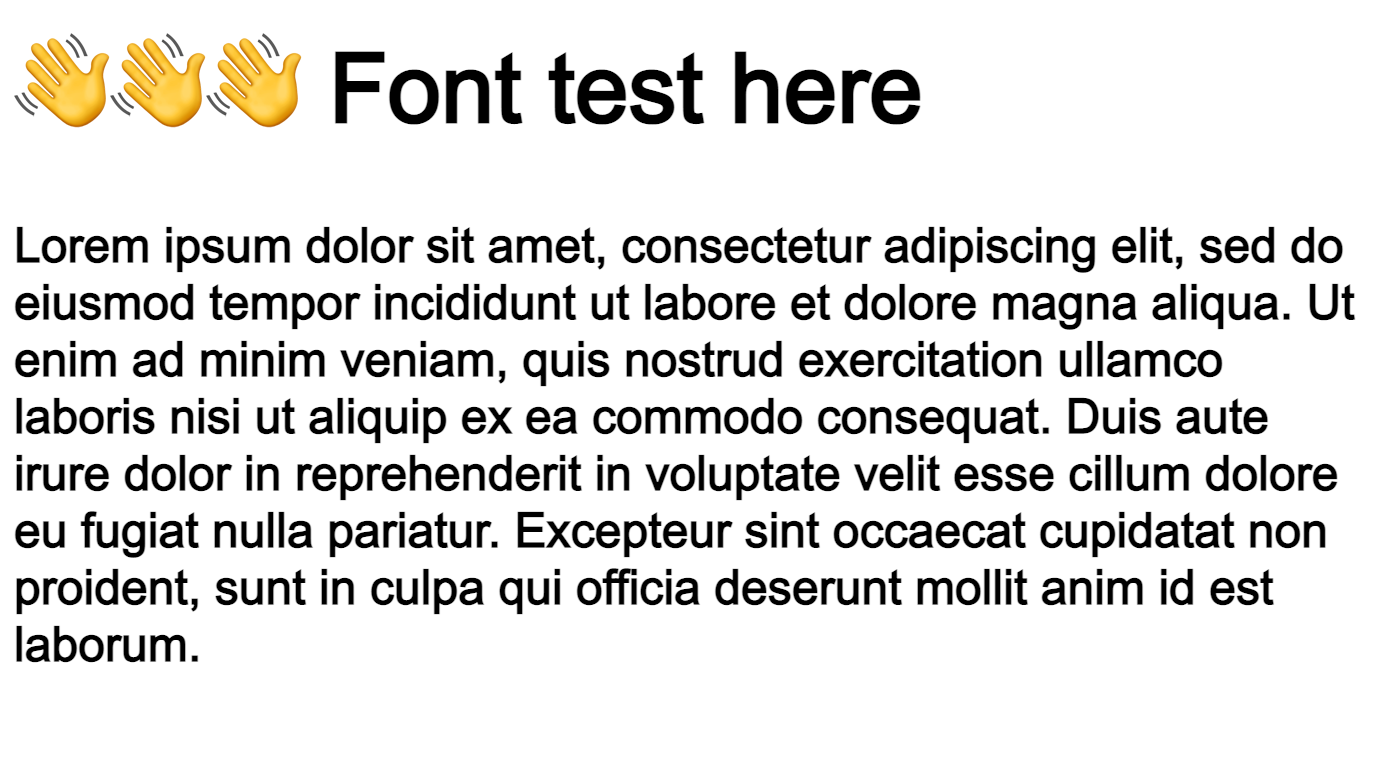
}And with this in place, now our initial page will look like this:
You can check out the full code here.
Keep in mind that if you don't set a weight to your font you will get the below error:
error - Font loader error:
Missing weight for font `Roboto`.
Available weights: `100`, `300`, `400`, `500`, `700`, `900`
This does not apply to the variable fonts. Actually, they are preferred from a performance point of view.
In the next post, we will see how to use the NextJs font library to load local custom fonts.
And speaking of fonts, you can check out here an example of how to use the Font Awesome icons with NextJs.
📖 50 Javascript, React and NextJs Projects
Learn by doing with this FREE ebook! Not sure what to build? Dive in with 50 projects with project briefs and wireframes! Choose from 8 project categories and get started right away.
📖 50 Javascript, React and NextJs Projects
Learn by doing with this FREE ebook! Not sure what to build? Dive in with 50 projects with project briefs and wireframes! Choose from 8 project categories and get started right away.