Usually a JS Craft Screencast will provide you with two downloadable code samples: the starting version of the code and the final version - how the code should look like at the end of the screencast.
If you never did it before, first we will need to install Node. For this head on to their website, then download and install Node. It’s a good idea to pick the Recommended For Most Users version, as it is the most stable one.
After the installation is done, you can test it out in your terminal by writing:
node -v With Node installed on our machine we can now download a code sample, unzip it and after that open a terminal window that points to the unarchived folder. In the terminal just run :
npm installAs a shorthand you can also run just npm i. You should now get a output similar to the one below:

What npm install will do is to look into the package.json file , see the list of libraries our project needs and install them. You will see that after the install command has finished we now have a folder called node_modules containing all the required libraries and Node packages.
If no other special instructions are provided in the tutorial, we can now just run our application by using:
npm startAnd this should be all that's needed to start the React examples from our site.
Install create-react-app to start a project from scratch (optional)
Many of our React screencasts examples are made by using create-react-app. This part is needed only if you want to start your own projects from scratch.
There are several ways to initiate a React project. The approach in this tutorial is based on Create-React-App and is one of the fastest ways to get you up and running with React apps as it provides a very useful set of tools.
Please note that this article is not meant to be a complete guide about this wonderful tool of Create-React-App. Instead, my goal is to provide you with a very simple setup process to start from zero our own React apps.
The installation process is the same for Windows , Mac or Linux machines.
Please be sure you have Node installed. There are instructions for doing this in the first part of this tutorial.
Node comes with NPM, a tool that allows us to easy install libraries and packages. Such a package is Create-React-App. In order to install it, go into your terminal and run:
npm install -g create-react-appOn some older Windows machines you may need to close and reopen the terminal window after you have installed create-react-app.
The -g flag comes from -global, and indicates that this package should be installed globally. This means that we can now run it from any folder. In order to test it out we can write:
create-react-app my-first-react-appThis will create a new folder called my-first-react-app containing all the files for the app. We will move inside of this folder by typing:
cd my-first-react-appAnd to have it running now just type:
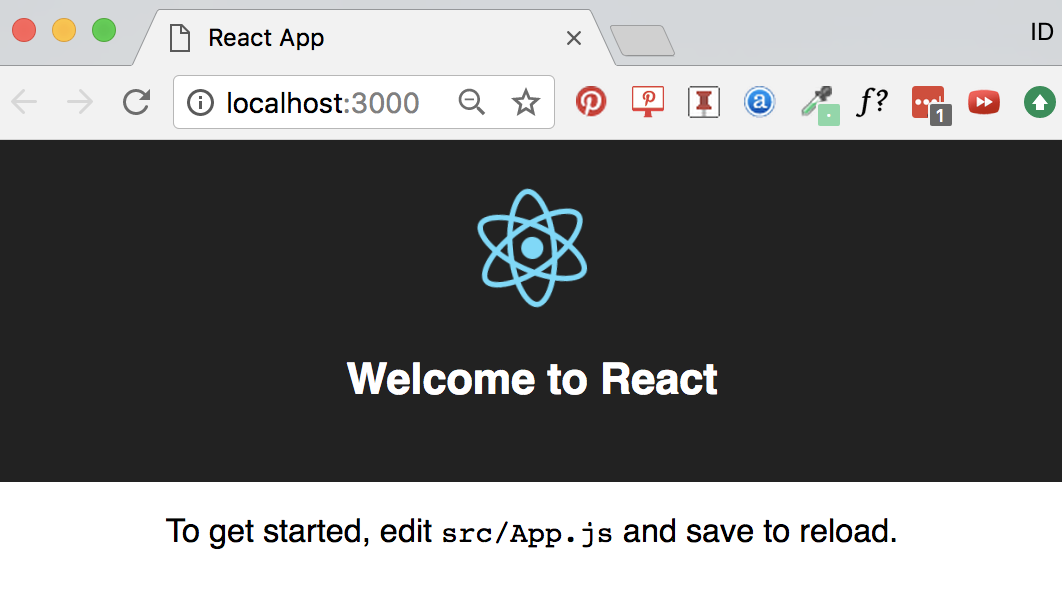
npm startYou should now see something like the picture below:
You can now open this project in your code editor of choice and start to play with the code. Create-react-app comes with a auto-refresh feature that will update the page as soon as you change the code. By the way, the main app file is src/app.js (index.js is used only to render out the app).
📖 50 Javascript, React and NextJs Projects
Learn by doing with this FREE ebook! Not sure what to build? Dive in with 50 projects with project briefs and wireframes! Choose from 8 project categories and get started right away.
📖 50 Javascript, React and NextJs Projects
Learn by doing with this FREE ebook! Not sure what to build? Dive in with 50 projects with project briefs and wireframes! Choose from 8 project categories and get started right away.