Today we will learn about how to use our own local fonts in NextJs.
We have seen in the previous article how to use the new NextJs font system to load custom fonts such as Google Fonts, or Typekit.
The @next/font comes out of the box with a big collection of fonts, but what if we want to use another font that we downloaded or was designed in-house? What if we want to use a local font?
Well, for this we will still use the @next/font but with a twist.
First, we will need to install the nextjs font library:
npm i @next/fontLet's say our font is stored in a font.otf file. This will also work with other font file formats such as woff2.
Given that in the new app folder we can place also additional files, not just pages, we will add the local font files directly here. The project structure will look like this:
/app
    /myfont
        font.otf
    page.js
In order to import the font into our pages we will use the @next/font/local package.
import localFont from '@next/font/local'

const myLocalFont = localFont({
    src: './myfont/font.otf'
})

export default () => {
    return (<>
        <h1 className={myLocalFont.className}>White christmas</h1>
    </>)
}
As in the case of Google Fonts the myLocalFont object will provide a unique generated value called className that we can use to mark the elements that will use this font.
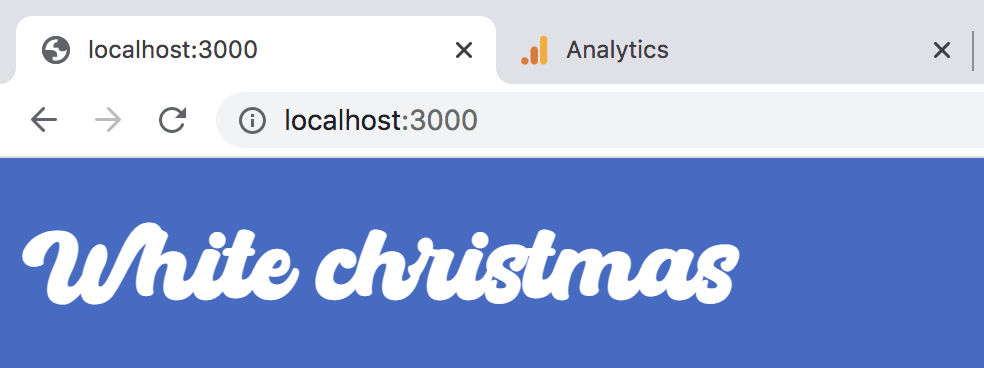
And this is all. Now, if we will visit this page we will see the below output:
You can download the full code from here.
Using the @next/font will allow us to have better performance, but also reduce the layout shift caused by font swapping by using props such as size-adjust.
📖 50 Javascript, React and NextJs Projects
Learn by doing with this FREE ebook! Not sure what to build? Dive in with 50 projects with project briefs and wireframes! Choose from 8 project categories and get started right away.
📖 50 Javascript, React and NextJs Projects
Learn by doing with this FREE ebook! Not sure what to build? Dive in with 50 projects with project briefs and wireframes! Choose from 8 project categories and get started right away.